Me
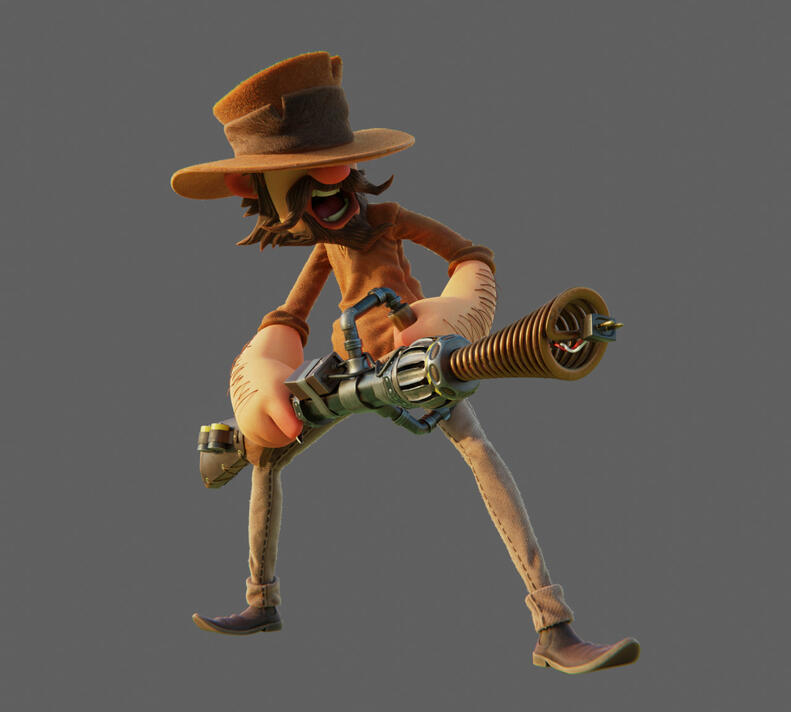
My name is Lucas Falcão and I'm from Brazil, born in 1986.🐵 3d Artist working with Blender
🎓 Graduated in Design
👁️ Creator of the Auto Eye
🧵 Experimenting with 3d printing
🐧 Loves Linux and open-source
🚴 Amateur cyclist on free timeI can interpret concept arts and sculpt them with fidelity and appeal in 3d, I can also do retopology with clean and functional topology for animation and games. Lastly, I can work on the look development, to give life and emotion to 3d characters and objects.I've been working as a freelance since 2016, working mostly with stylized characters for animation, doing modeling and look dev, creating personal 3d illustrations and working on my add-on Auto Eye.
Skills
Modeling: Solid knowledge in character modeling, but can also model both organic and hard surface objects, delivering low or high poly meshes.
Sculpt: Capable of sculpting stylized characters, bringing concept arts for the 3D environment with great fidelity and appeal.
Retopology: Great comprehension of how topology works and capable of create clean and functional topology for animation.
UVs: Know how to unwrap meshes creating UVs without stretching or as minimal as possible and organized as needed.
Texturing: Has the ability to create appealing textures consistent with the weather and that tell about the storytelling of the character or object.
Materials: Understandment of how surfaces works in real life, to create both believable and artistic results in 3D renderings.
Lighting: Knows the fundamentals of color and light to create natural and appealing images that values the shapes and story.
Hair and Fur: Capable of creating stylized and appealing hair and fur.
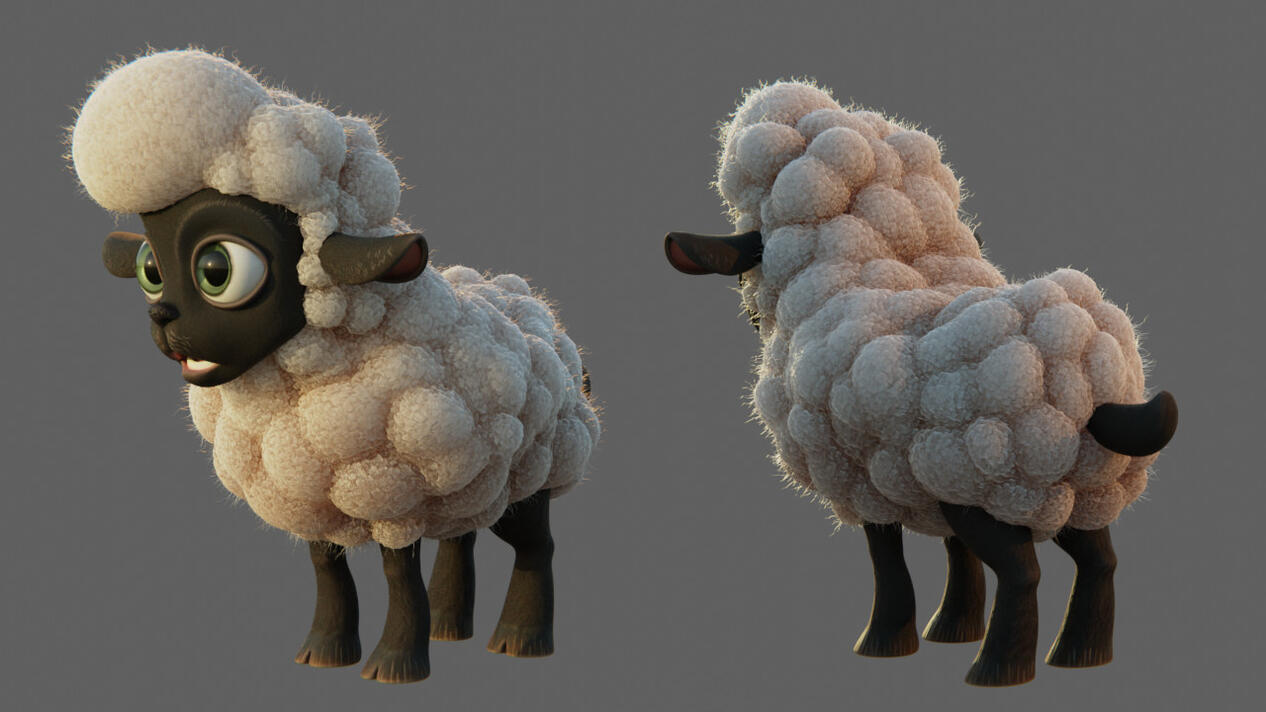
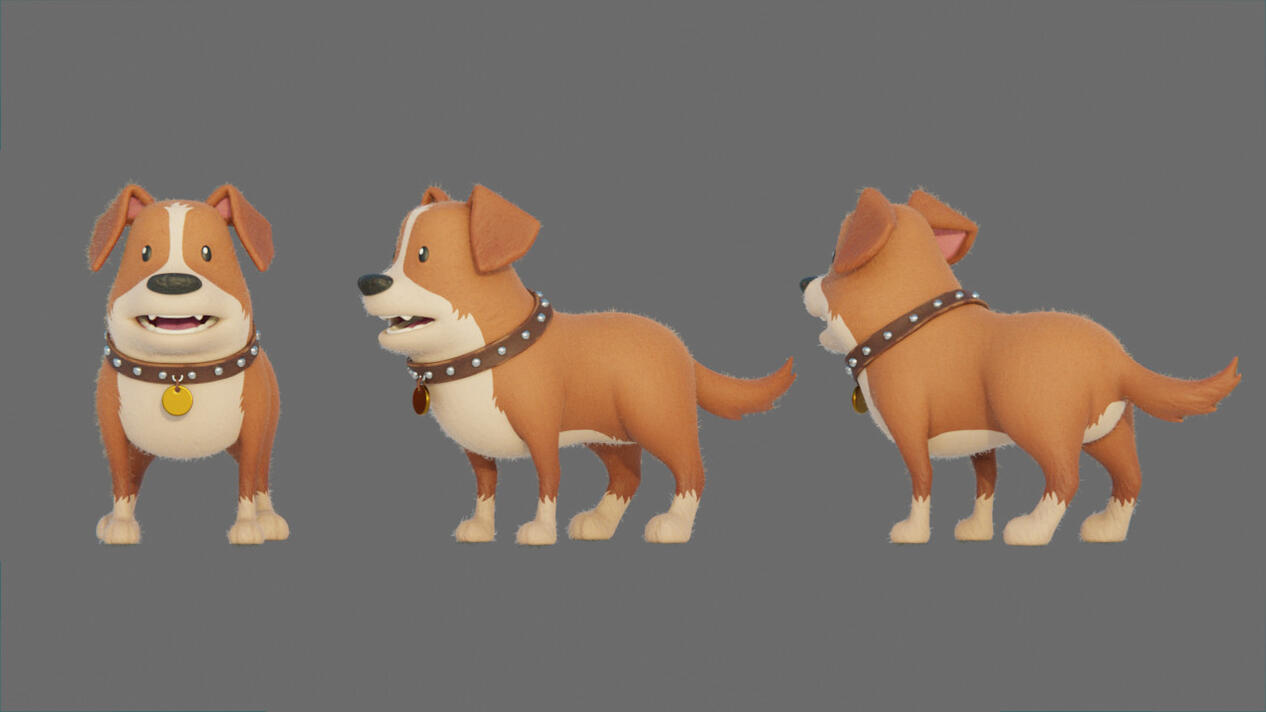
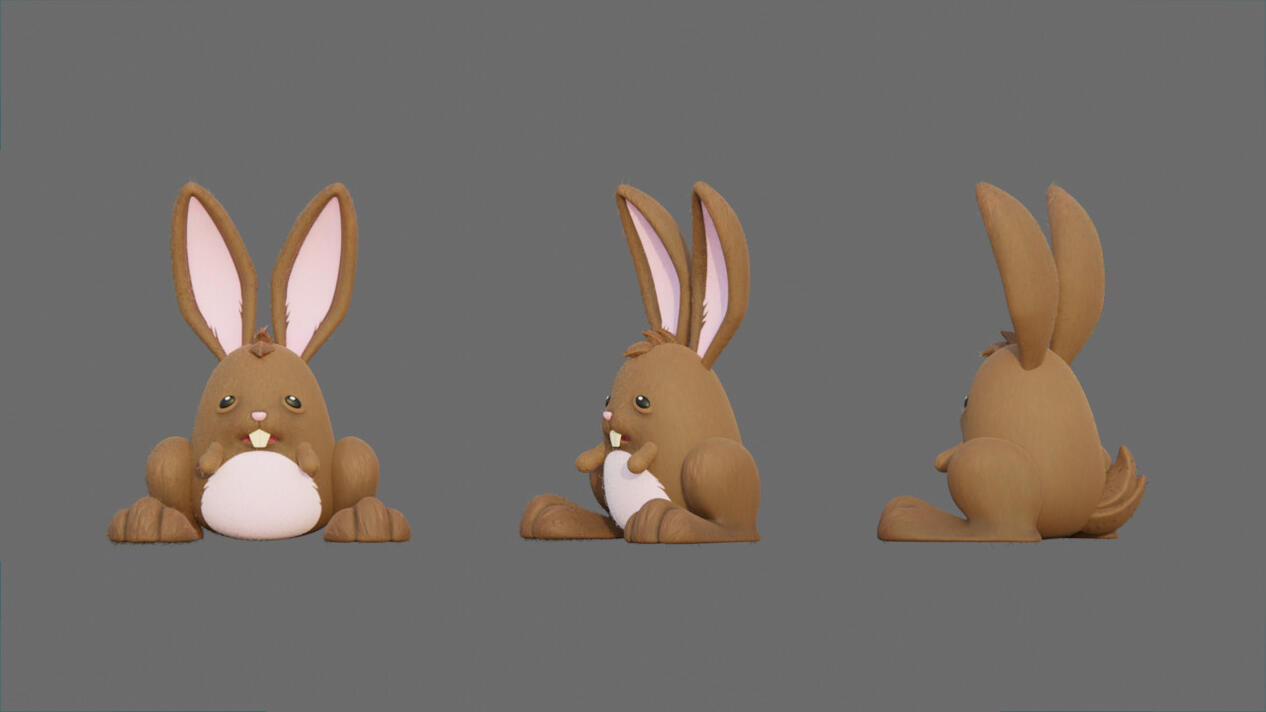
I had the pleasure to contribute to the Eat Sheep project working on the characters, doing Sculpting, Retopology, UV's and also the Shading of these cuties.
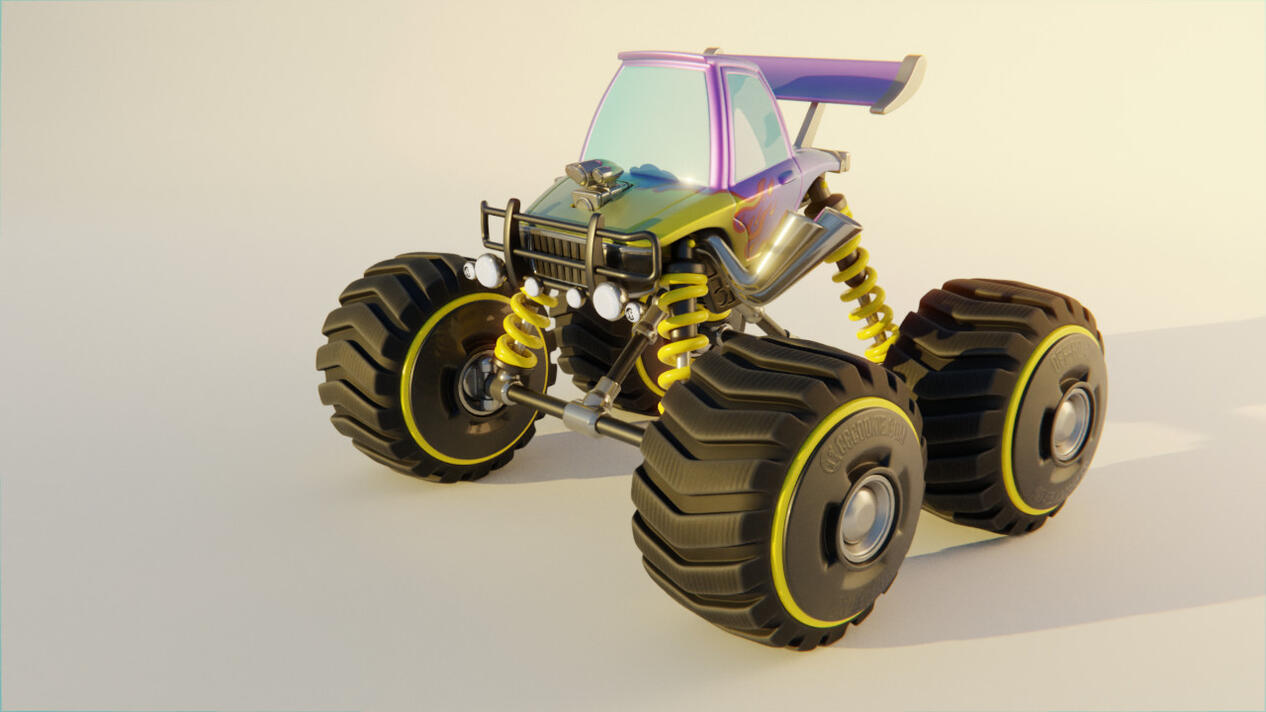
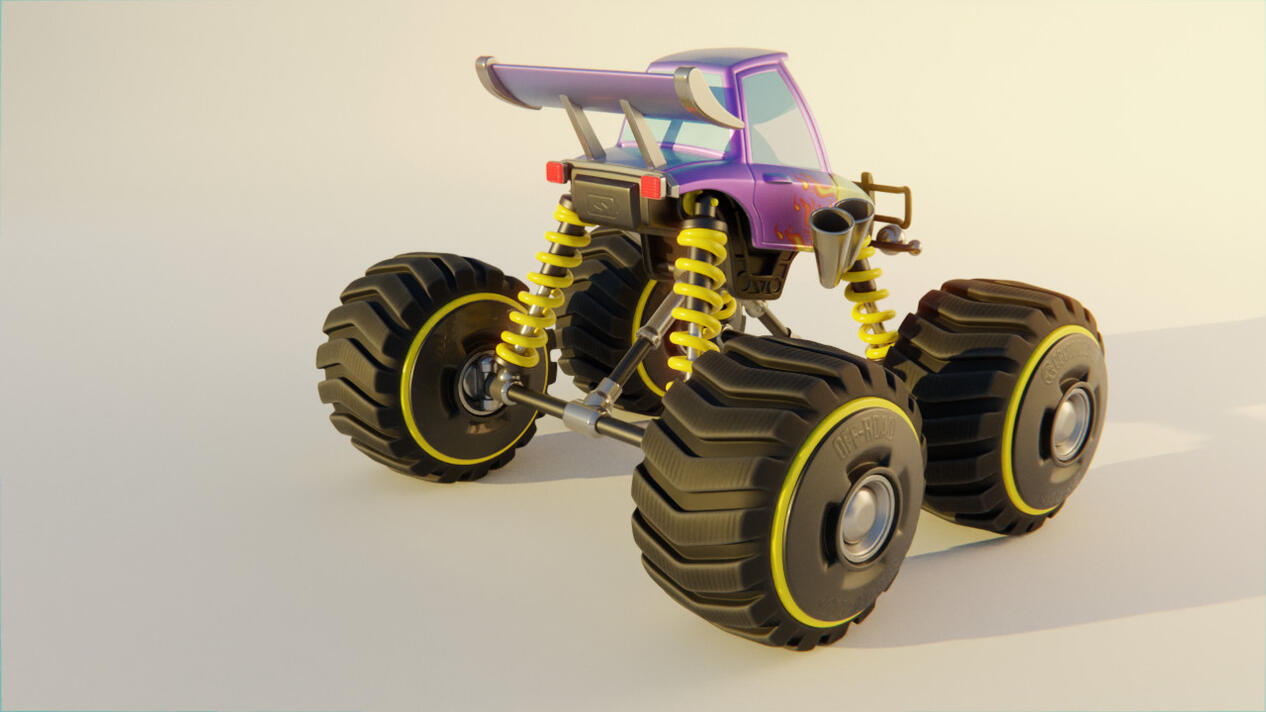
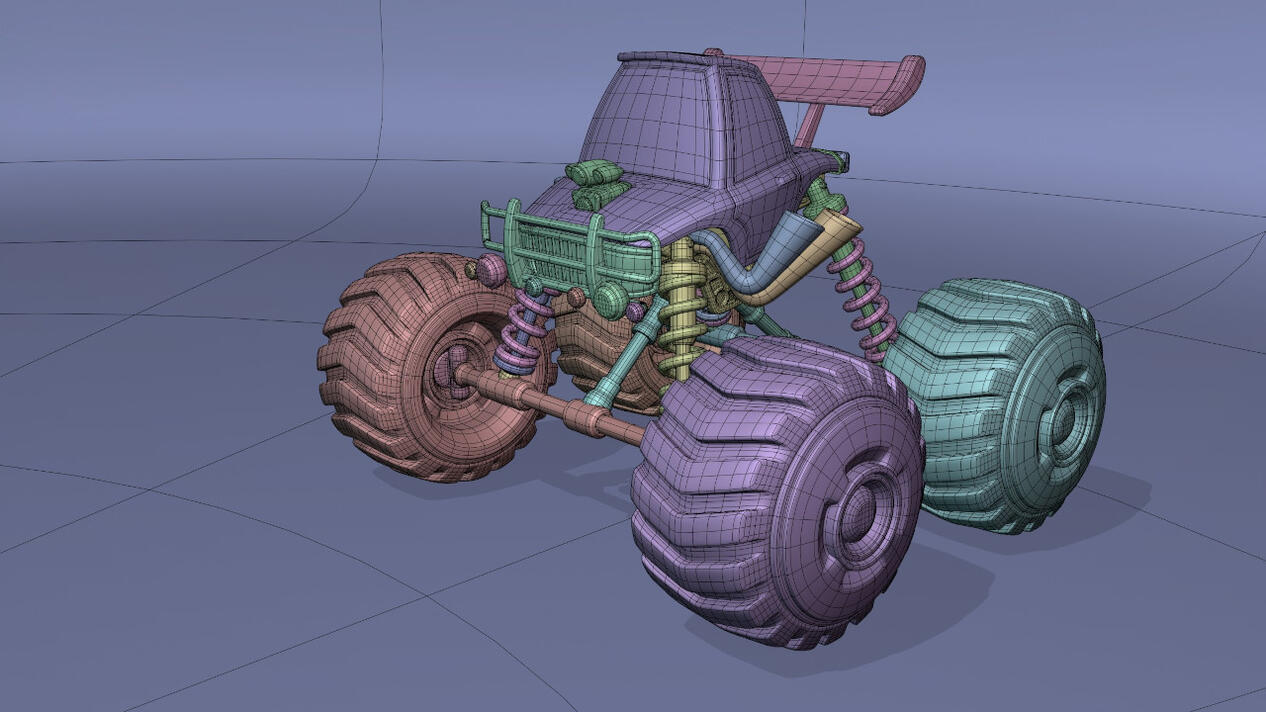
Also I had the opportunity to work on this awesome Monster Truck, for the Vehicle Rigging and Animation with Blender Course, doing modeling and look development.
Behind the Scenes: Witch
This behind the scenes was initially written for Blender Nation, but I'll post here again to be more easy found for people who access this website.INTRODUCTIONHi! My name is Lucas. I'm from Porto Alegre, Brazil. I graduated in Design, the field in which I've started learning 3D. I spend countless hours on tutorials, time-lapses, articles and all this stuff from the internet. Doing personal projects is really valuable for me to learn new ways and to solve things in 3D.INSPIRATIONI was browsing through Instagram and saw this beautiful concept art of a witch surrounded by some cool objects, done by Guille Rancel, and I couldn't resist creating my version in Blender.

HARDWARE
AMD Ryzen 7 5800X
NVIDIA GeForce RTX 3060 12 GB
32GB RAM
MODELINGSo for the modeling, I placed the concept art on the front view, just drag-and-dropped the image on the viewport, and start working from this angle mostly. I grabbed some objects like the hands from another personal project. They were already rigged so it was easy to pose them. The shoes were also stolen from another project and tweaked into the witch concept.

Everything else was modeled using Blender tools and sculpted using the Quad Remesher to have a decent topology to work with, like for the face, the cat, and the frog. The eyebrows were created using the Eyebrow Pack from the master Nazar Noschenko.

SURFACEFor the textures and materials, everything was done using what Blender has to offer.The eyes were created using the Auto Eye. I used a lot of Layer Weight (Facing), and the Pointiness with the ColorRamp node in some ways to achieve different looks for different materials. These are probably my favorite nodes.I also used the Wave and Noise textures nodes a lot. The colors were done using Vertex Paint, now renamed to Color Attributes, and they were also used to create the black and white masks. The new Paint on sculpt mode was working great by the way.

Modeling plays a big role on how the material will look, so it's a mix between the things I mentioned above. The key to making good materials in my opinion is to think about what the object or the character is exposed to, like climate conditions. Try to differentiate the several materials on your scene: fabrics, plastic, metal, and subsurface, so they all look distinct, especially for things that are side to side. Take use of at least the Color, Roughness and Bump inputs. In most cases, if you use these inputs, your materials will have more chances to look believable.

HAIRThe hair was created using the Blender particles system. I created one system for the fringe and two separate systems for the back of the hair, mostly because I used a different Twist effect for each side.

A very handy add-on that I used was the Hair Extension Toolkit, which added a lot of useful functions to the default particle system. My favorite is the function for splitting and merging particles from selection, that otherwise you would need to create a new particle system comb again.

LIGHTINGThe lighting was fairly simple: I just used one of the HDRI that comes within Blender and a Point Light in the spell position. I wish there was an option to enable the render of these HDRIs that comes with Blender by default.

These are the folder locations for each OS if you want to use them. Some of them are from the site HDRI Heaven and you may want to download a bigger resolution.COMPOSITINGThe compositing was really simple, just a denoise filter with a little bit of contrast and color balance, a glare effect, a little bit of lens distortion and jitter.

Final Images
The Versatility of Vertex Paint
For quite some time I’ve been using Vertex Paint in probably all of my work, because it’s very handy and fast way to setup masks or basic colors, specially if you do stylized stuff. The only cons that comes to my mind is that you need your topology or vertex count to match what you want to do, but I usually don’t have any issues.I’ve made a post on Twitter to see how much people use Vertex Paint and apparently not so much people use it. So in this post I’ll show some ways that I’ve been using Vertex Paint on my work and maybe some of you will learn something new.How to useFirst let’s show how to use, because some of you may not know how to do it. When you select and object and enter in Vertex Paint mode, Blender creates a new Vertex Color channel with the name Col, that you can change to another name the represents what you are doing. You can find the Vertex Colors channels on the Object Data Properties. After enter the Vertex Paint mode you just need to paint on your model whatever you want to do, very handy isn’t?
Then to actually use it on your render, you need to add the Vertex Color channel on the Shader Editor, using the shortcut Shift+A > Input > Vertex Color.
Base ColorsThe first way I wanna mention it’s for painting Base Colors, this works better if you have a more dense mesh, but it can also work with resonable low poly meshes. You can use the Blur brush to soften the colors or you can click on the Paint menu at the top of viewport and choose Smooth Vertex Colors. If you want a sharp interpolation on the colors, like I did on the eyes, you can make a selection in Edit Mode and then go back to Vertex Paint mode, click on the button Paint Mask and on the Paint menu choose Set Vertex Colors.
MasksAnother way that I use Vertex Paint is to create grayscale or RGB masks to blend or separate textures and shaders. To create a mask I usually make a selection in Edit Mode, back to Vertex Paint, enable the Paint Mask that I mentioned before and then I click on the Paint menu and choose Set Vertex Colors. And I usually use the Smooth Vertex Colors on the mask, this way I can use a ColorRamp on the Shader Editor and control there if I want a more sharpen mask or not.
RoughnessIf you are a little bit lazy like me, you can even do a kind of Roughness map in just like one click. For that you need to enter in Vertex Paint mode, paint your model with a white color and then click on the Paint menu and choose Dirty Vertex Colors. In the Shader Editor you can use a ColorRamp to adjust the values and achive the Roughness result you want.
Subsurface WeightThe last use that I wanna mention it’s to create a Subsurface Factor mask, this way you can control how much Subsurface you want for different parts, instead of choosing a single value for the entire model. I paint this mask in black and white values and then in the Shader Editor I plug it in a ColorRamp and tweak to values until I achieve the result I was looking for.
ConclusionThese are very simple tips, I’ve never seen those uses of Vertex Paint on a tutorial on the internet, so I hope it helps some of you that are reading this to improve your work quality or at least get it done faster. These tips works even better if you mixing with procedural or tile-able textures.Anyway hope you enjoyed the tips and if you have any question feel free to leave me a message on Twitter or send me an Email.
Simplified Keymap
This is a proposal I've posted on Right-Click Select to simplify some of Blender basic shortcuts, most of them are frequently used, so I think would be nicer if those hotkeys were done just using just one key.I found that there is some keys that there isn't other functions applied to it and still the shortcut it's a combination of two keys.Like Join for example, as far as I know the J alone doesn't have any function applied to it, so why don't just use only J as shortcut, instead of CTRL + J ? And is this case why not use Alt+J to Unjoin parts to be more consistent with other Blender's shortcuts.So here is a list of shortcuts that I think could be simplified, please make your suggestions and help to check if there is any functions applied to the keys in any Editor Type in Blender.
Join = J
Unjoin = Alt +J
Parent = P
Clear Parent = Alt + P
Make Links = L
Clear Links = Alt + L
Select More = +
Select Less = -
Views Pie Menu = V
Set Vertex Colors = K
Set Weight = K
12 Things I Learned Working as Freelance
1. Do just a little bit more than they ask and clients tend to come backTry to find something that wouldn't give you any work to do but makes the client more happy to receive the material.
2. Mistakes are part of the processDon't be afraid to make mistakes, if you feel you are not on the right path on the project, ask for help or feedback from the client as soon as possible.
3. Avoid messing around with system settings during a project in progressAvoid as much as possible make alterations on the system, driver updates and things like that. If anything goes wrong, and usually it happens on the worst timing as possible, you can loose a deadline or worst.
4. If there is no concept or sketch, ask for references to guide your workYou need something very clear of what need to be done, to stipulate you budget as well. Don't start a work for a client if you didn't receive something concrete to work with. In the best scenario you will receive a concept art and a model sheet with different views. Solid good references works for some situations.
5. When learning something new, try to understand the processWatch tutorials and trainings with an open mind and try to visualize other situations were you could apply what you've learned to solve things.
6. Pomodoro Technique can increase your productivityThis could help you to be more focus for short period of times and in my experience, when you use Pomodoro on the working days, you feel less tired at the end of the day.
7. Don’t render an entire image if there is no needAvoid doings full renders when working on a project, unless it's really needed, use border renders, render layers and things like that, to gain time.
8. Save new versions of files for every send to the clientFor every email you send to a client with a working in progress, save a new version of your file, the client may decide at some point that he liked more that other version you sended some emails ago and you better have that file or you will need do some work again.
9. If the render time increases too much, maybe there is something offSometimes your render time could go crazy for whatever reason, so it's a good skill to know how to debug the file to see what's happening. A lot of times you just need restart your computer or even import your scene into a new fresh scene.
10. Talk to the artist responsible for the next stepCommunicate with other members of the project could help prevent future issues and it's a good practice to think on how your college would like to receive a file to work with, so ask if there is any suggestions or if there is any preferences on certain things.
11. Specify exactly what you will be doing at workThis is a very good practice, clarify everything that needs to be done at the very beginning of project and record everything via email, in case further on something goes different both of you could check what was agreed and maybe renegotiate the budget.
12. Know when to say noMake sure at some point on your journey, learn to say no to some offers and try to direct things for the path you wanna follow. Hopefully you will have more offers than you can tackle and it's okay to not accept everything and take care to not get overwhelming with too much work. In this situation, if you like, you can recommend a qualified friend for the job.

